Showing posts with label dessert. Show all posts

Sunday, March 6, 2011

Best Cocoa Brownies (Sugar-free)

For some reason I decided to take an unannounced hiatus from this blog. All of February felt like it was lacking inspiration and I was just waiting for the month to end. Now that March is here and spring looks like it might be approaching soon, I feel like I am getting motivated again to create new things.

I spent most of the month taking photos of my cats, and while I find them very cute, that's not really the point of this blog.

Misty
Aster
I made an attempt at a few things since I last posted, but only a couple of those are really worth writing about, so that didn't give me much motivation to put anything up. The good news is that I am still keeping up my sugar-free lifestyle and I am finding it easier and easier each day. I am also finding that (chain) restaurant food tastes more awful each time I go. I don't know how I was able to stand the insane amounts of salt restaurant food contains, but I can really taste it now. Thankfully Toronto has an unimaginable amount of restaurants, so I'm sure I will be able to find a few that serve really great food (on top of the couple that I already know about).

I spent the whole month basically being lazy by eating mostly salads and sandwiches, meaning that there really wasn't much to write about. Don't get me wrong - I absolutely love those two things, but they are not very interesting to write about, especially when they are always the same.

Anyhow, today I felt excited and eager to make something. I have been circling around the idea of making brownies, but as I mentioned, my last attempt at making "healthy" brownies went terribly wrong. So this time I decided to take a regular ol' brownie recipe and just replace the sugar in it with date paste.

Mmmmmmm.... Brownie!
One of the reasons that I haven't tried doing this until now was simply because I don't like dates and I didn't rush to the store to pick up any. I rationalized though that I had to at least try them in baking, otherwise I would run out of things to write about very quickly.

Date Paste


The result is incredibly delicous! I am fairly certain these are the best brownies I have ever made.

So without further ado, here is the recipe.

Best Cocoa Brownies (Sugar-free)

Adapted from Smitten Kitchen.

Makes: 30 small squares


Ingredients
  • 1 1/4 stick or 141 grams unsalted butter
  • 1 1/4 cups dates
  • 3/4 cup or 82 grams unsweetened cocoa powder (I used Ghirardelli Unsweetened Cocoa)
  • 1/4 teaspoon salt
  • 1/2 teaspoon pure vanilla extract
  • 2 large eggs, cold
  • 1/2 cup or 66 grams all-purpose flour
  • 2/3 cup walnut or pecan pieces (optional)

Blend the dates into a paste in the food processor. Preheat the oven to 325°F. Line the bottom and sides of an 8×8-inch square baking pan with parchment paper or foil, leaving an overhang on two opposite sides.

Combine the butter, date paste, cocoa, and salt in a medium heatproof bowl and set the bowl in a pot of barely simmering water. Stir from time to time until the butter is melted and the mixture is smooth and hot enough that you want to remove your finger fairly quickly after dipping it in to test. Remove the bowl from the skillet and set aside briefly until the mixture is only warm, not hot. Deb at Smitten Kitchen suggests that this step could be done in the microwave, but I wouldn't recommend it. The double boiler method allows the dates to further blend with the other ingredients and as a result, creates a smoother consistency.

Stir in the vanilla. Add the eggs one at a time, stirring vigorously after each one. When the batter looks thick, shiny, and well blended, add the flour and stir until you cannot see it any longer, then beat vigorously for a few minutes. Stir in the nuts, if using. Spread evenly in the lined pan.

Bake until a toothpick plunged into the center emerges slightly moist with batter - about 25 minutes. Let cool completely on a rack.

Lift up the ends of the parchment or foil liner, and transfer the brownies to a cutting board and cut into squares.

Friday, February 4, 2011

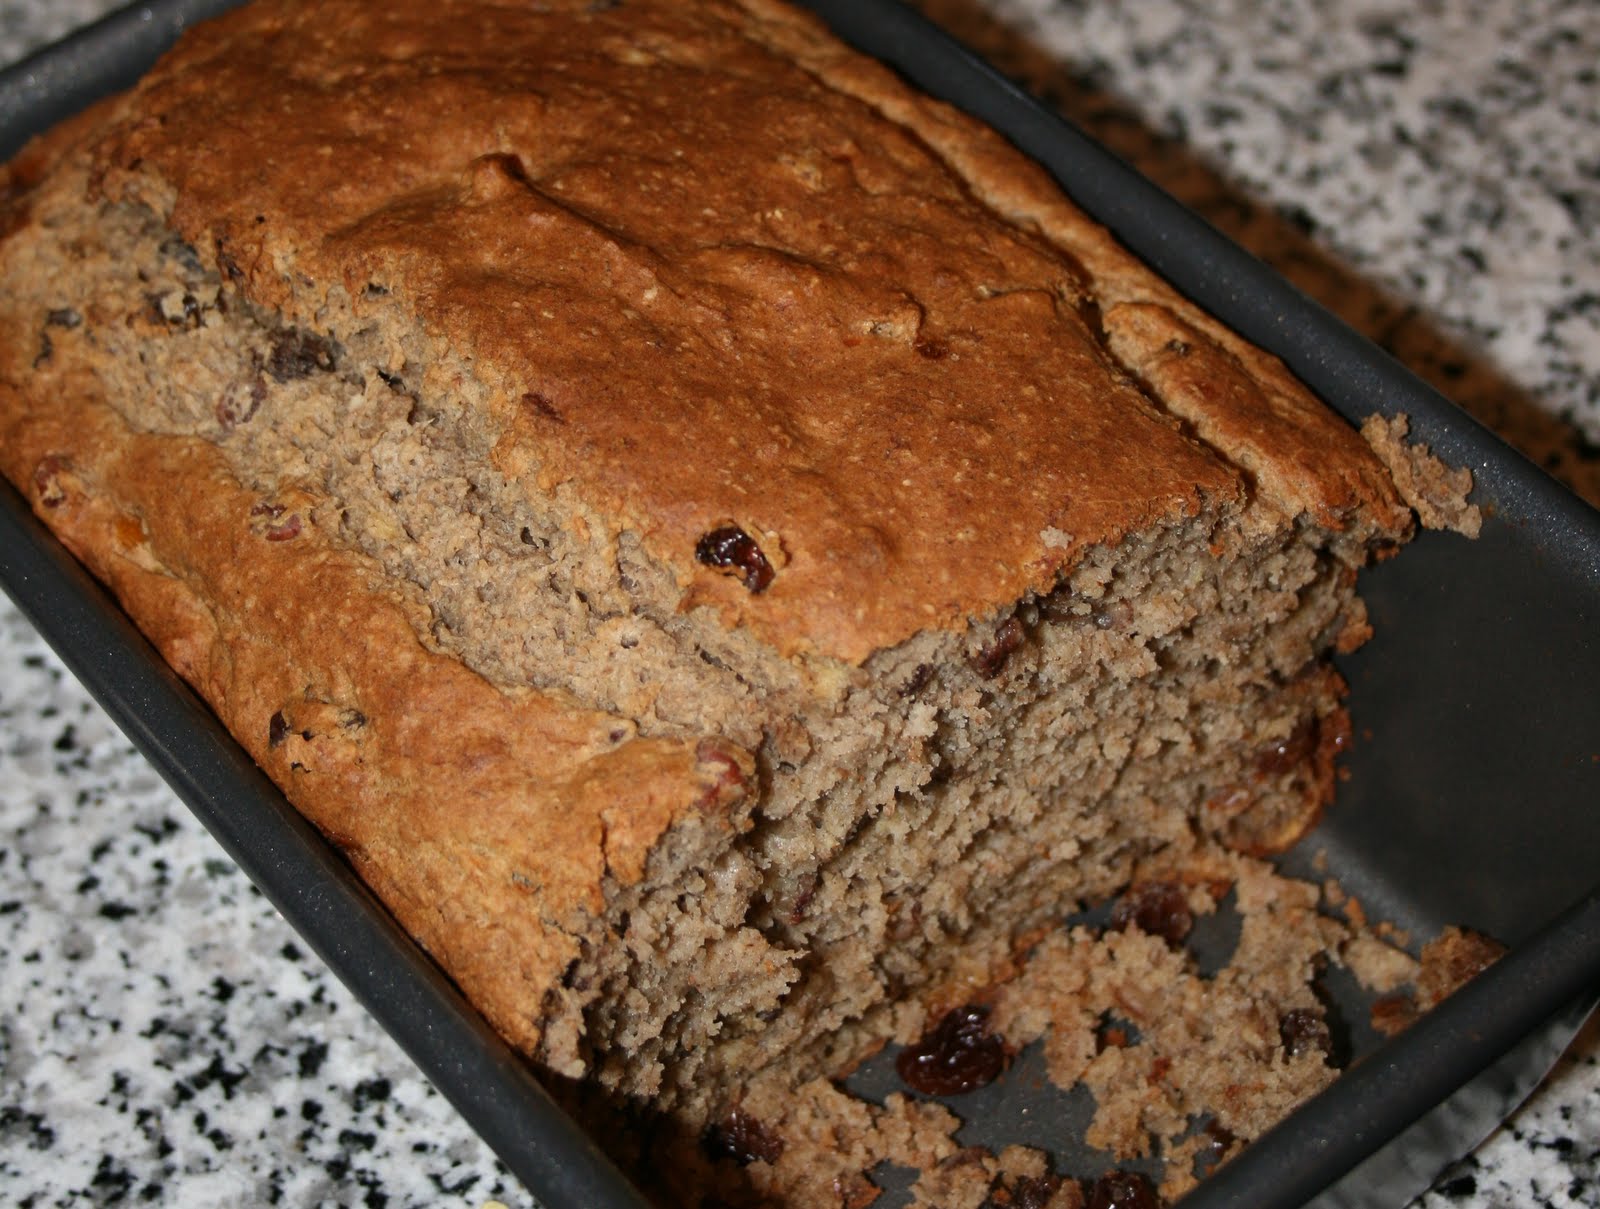
Banana Bread


Last weekend I met up with a friend and she baked the most delicious looking Banana Bread (which I could not eat, sadly ) and I just couldn't get it out of my head. It's something that I've been meaning to make for a while but couldn't find the time to do it. I was also worried about whether or not it would be too "bready" without sugar.

A couple of days ago Toronto got "snowed in". In the end there wasn't very much snow, but the University closed down and I got an unexpected day off. It was really great to take a break, relax and spend the day at home. My husband and I went rock climbing for a while and had the whole gym to ourselves - the one benefit of a snowstorm.

Thankfully we also planned ahead and bought lots of groceries in anticipation of a possible snow storm. I've been craving a snack and I figured what better way to satisfy that than with Banana Bread. As it happens, I've been hoarding bananas in my freezer so I really needed an excuse to use some of them up.


I decided to modify a Banana Bread recipe that I've been making for ages and see how it would turn out. The cookbook where I found this recipe is one of my favourites. It's one of the few cookbooks that I can turn to for just about any meal.  It always has healthy recipes from a number of Canadian dietitians. I haven't been disappointed with a single recipe yet.

I also happened to buy by some gluten-free flours last weekend and was hankering to use them. I've never used chickpea flour or buckwheat flour so I figured I should at least try to incorporate one of those in my recipe.

I should probably mention that I'm not an expert cook. If fact when I just started baking I had to follow a recipe exactly. It's been hard to break out of that and experiment but I'm glad that avoiding sugar makes it almost mandatory for me to play around with recipes.


 Sugar Free Banana Bread
 Significantly adjusted from Simply Great Food: 250 Quick, Easy & Delicious Recipes

  • 1 ½ cups Buckwheat Flour
  • ½ cup Whole Wheat Flour
  • ½ cup Oat Bran
  • 1 teaspoon baking soda
  • 1 teaspoon baking powder
  • 2 eggs
  •   ¼ cup oil (I used grapeseed)
  • ½ Unsweetened Apple Juice (I use Simply Apple which in my opinion is the best apple juice out there)
  • 1 teaspoon vanilla
  •   ¾ cup plain yogurt
  • 3 ripe bananas, mashed
  • 2 tablespoons flaxseed (optional)
  •  ½ cup raisins (optional, but soooo tasty)
  • ½ cup walnuts (optional)
  1. Preheat oven to 325 ˚F. Grease a loaf pan.
  2. In a medium bowl, combine flours, oat bran, baking powder and baking soda.
  3. In a large bowl, beat eggs, oil, vanilla and apple juice for 3 to 4 minutes. Stir in yogurt until well combined. Stir in bananas. Gradually fold in flour mixture. Fold in raisins and walnuts (if using).
  4. Spoon batter into loaf pan and smooth top. Sprinkle with whole flaxseed (if using).
  5. Bake for 60 to 70 minutes or until top is firm to the touch and a tester inserted into the center comes out clean. Let cool in pan for 10 minutes, then remove to a wire rack to cool completely.
Note: This banana bread is freezer friendly so you can make a couple of batches at a time and freeze the second batch.

Monday, January 17, 2011

Cranberry Orange Muffins

A couple of years ago I bought a stevia cookbook. I had just discovered what stevia was and I couldn't wait to try and make something. As soon as I got the book I decided to make a Carob Brownies recipe which had stevia instead of sugar and carob powder instead of cocoa powder. Once it was all done and I tried it, I lost all my enthusiasm for stevia.

Now that I don't have the option to bake with sugar I decided to give this cookbook another chance. I opted for something safer, something that wouldn't completely suffer from a lack of sugar. The Orange Cranberry muffins were the perfect fit.


I was so excited to make this recipe that I completely rushed through it, hardly reading the instructions. As a result, I put all the liquids one by one directly into the dry ingredients without mixing them together first. This genius move forced me to put in at least twice as much yogurt as the recipe called for to give these muffins the right consistency. In the end, the yogurt flavour really came through nicely and gave the muffins a nice tartness to them.

A few days later, a couple of friends came over and I happily served these muffins. Mind you I still haven't told most people about my SF lifestyle. My guest happily grabbed a muffin and asked if I made it myself. I proudly said that I did, completely forgetting to mention that there was no sugar in the muffins. After she tried a couple of bites I could see hesitation on her face. Even though there is stevia in the muffins, they are really not very sweet. So be prepared for that type of response if you are serving these to guests, or better yet, warn them in advance.

Cranberry Orange Muffins

Somewhat adapted from Stevia: Naturally Sweet Recipes for Desserts, Drinks, and More 
  • 2 cups chopped fresh cranberries
  • 1 teaspoon powdered stevia extract
  • 2 1/4 cups whole wheat flour
  • 3/4 teaspoon baking soda
  • 3/4 teaspoon baking powder
  • 1/4 teaspoon salt
  • 1/3 cup oil 
  • 1 large egg
  • 2 tablespoons sesame tahini
  • 2/3 cup plain yogurt
  • Grated rind of 1 orange
  • fresh orange juice from 1 orange
Preheat the oven to 375 ˚F. Oil the muffin pans or use muffin cups.

Chop up the cranberries. Place in a small bowl. Mix the stevia extract into the cranberries. Set aside.

Sift the flour, baking soda, baking powder, and salt together in a bowl. [I opted not to sift and the muffins still turned out well]

In a large mixing bowl, beat the oil and egg together with a wire whisk. Mix in the tahini. Beat in the yogurt, then the orange rind and orange juice. Stir the sweetened cranberries into the batter.

Fold the dry ingredients into the wet ingredients, stirring as little as possible. Spoon batter into the muffin tins. Bake 25 to 30 minutes. Remove from the pan and cool on a rack.

Thursday, January 13, 2011

Sugar-free Chocolate Brownies


I realized early on that the key to my success with this sugar-free lifestyle would be to continue baking...somehow. It's certainly not easy to find recipes without sugar, and desserts at that. Anyhow,  a couple of weeks ago I came across a recipe for a Bitter Chocolate Cake on Spoonful of Sugar Free.  It took me a couple of weeks to man up and try to make this recipe.


On Monday night I finally did it. I substituted the pumpkin puree for apple sauce, added a pinch of salt and a pinch of stevia. I definitely couldn't eat it straight - I think it'll take some time for me to do that. Instead I whipped some cream and it made it sooo delicious!  I really liked the texture which was nearly identical to a brownie. I would probably add more applesauce in the future to overpower the bitterness of the cocoa a tad more, but all in all I would certainly call it a success.


Sugar-free Chocolate Brownies

Adapted from Spoonful of Sugar Free.

Makes: 2 individual brownies

Ingredients
  • 1 egg
  • 1/4 cup cocoa powder
  • 2 Tablespoons of applesauce
  • splash of vanilla extract
  • 1/8 teaspoon baking powder
  • 1/8 powdered stevia extract
  • 1/8 salt
  • water
Preheat oven to 375°F. Mix all of the above ingredients together. Add a splash of water until it reaches the consistency of a thick pudding. Pour batter into a Ramekin or tartlet tin.Bake in the oven for about 15-20 minutes, or until a toothpick comes out clean.

For added flavour, you can eat this with whipped cream or jam.


Posted by Picasa